My Store
Can Am X3 XRS Trailing Arm Bushing remover/installer (2017-2024) excluding MavR
Can Am X3 XRS Trailing Arm Bushing remover/installer (2017-2024) excluding MavR
Couldn't load pickup availability
Share
Installation Instructions
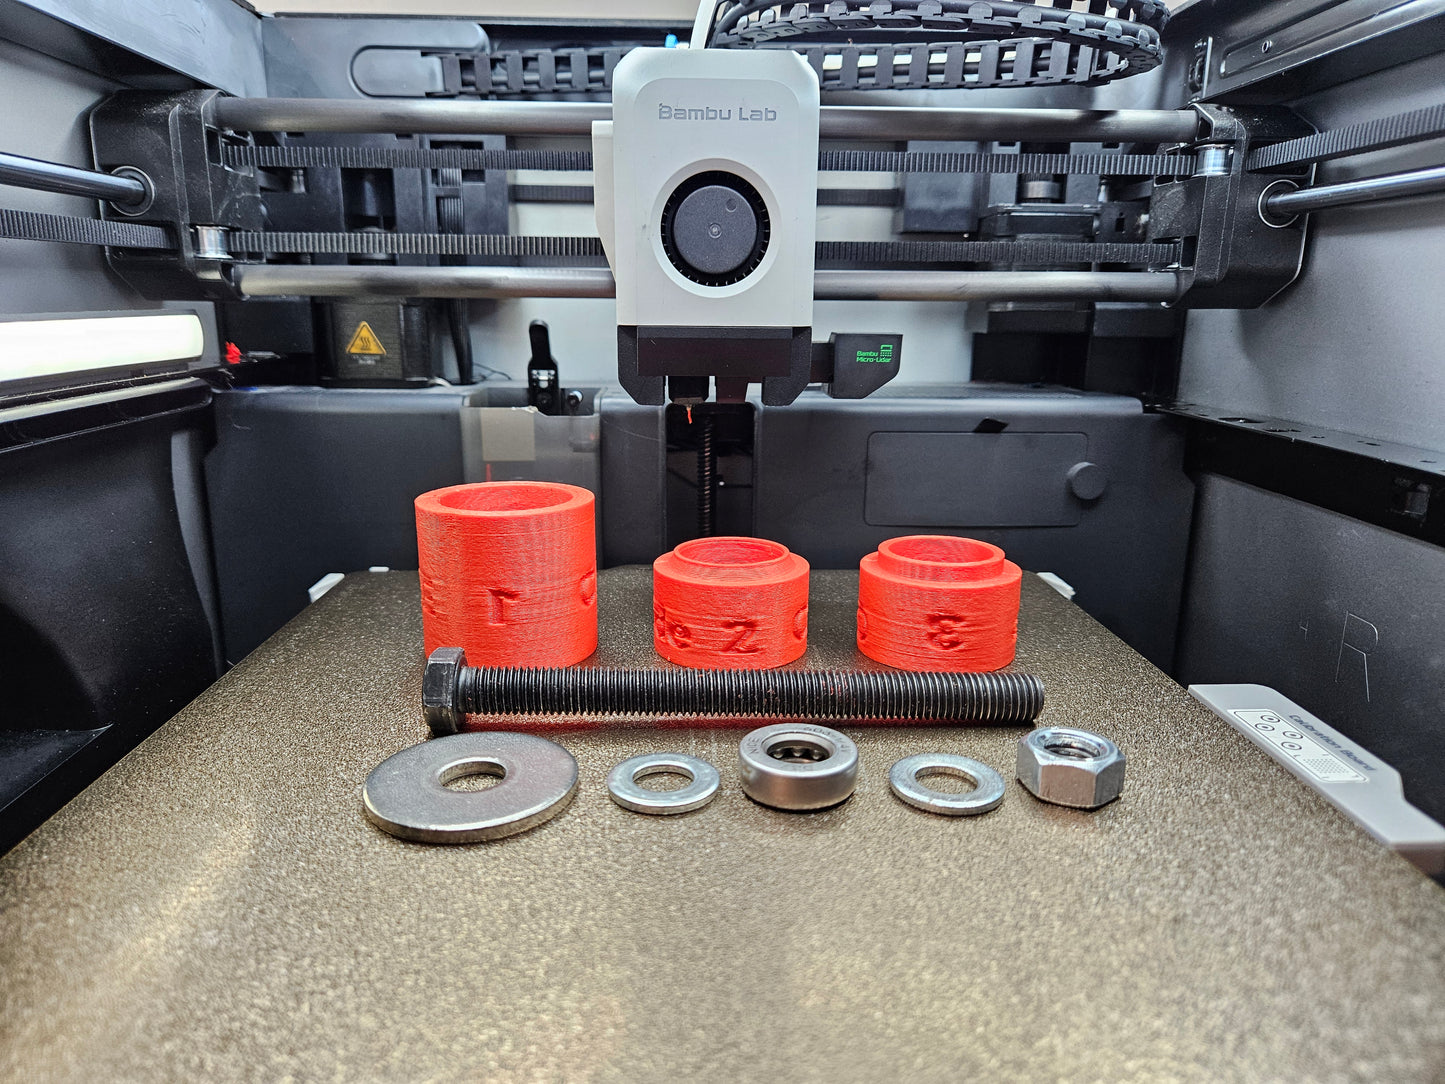
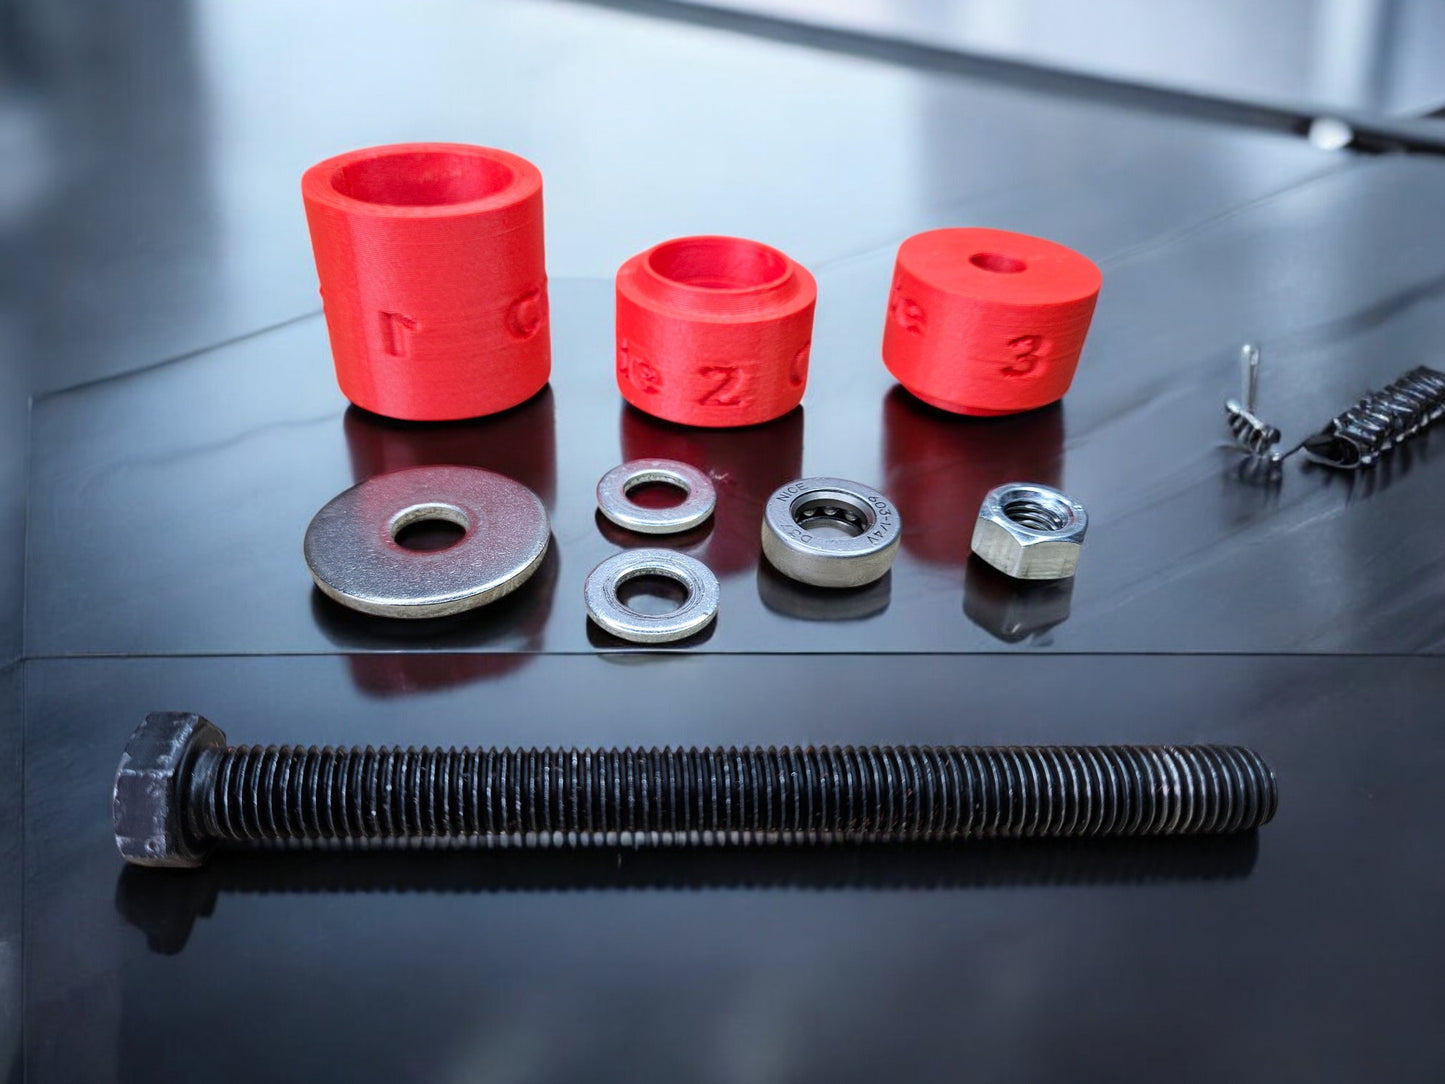
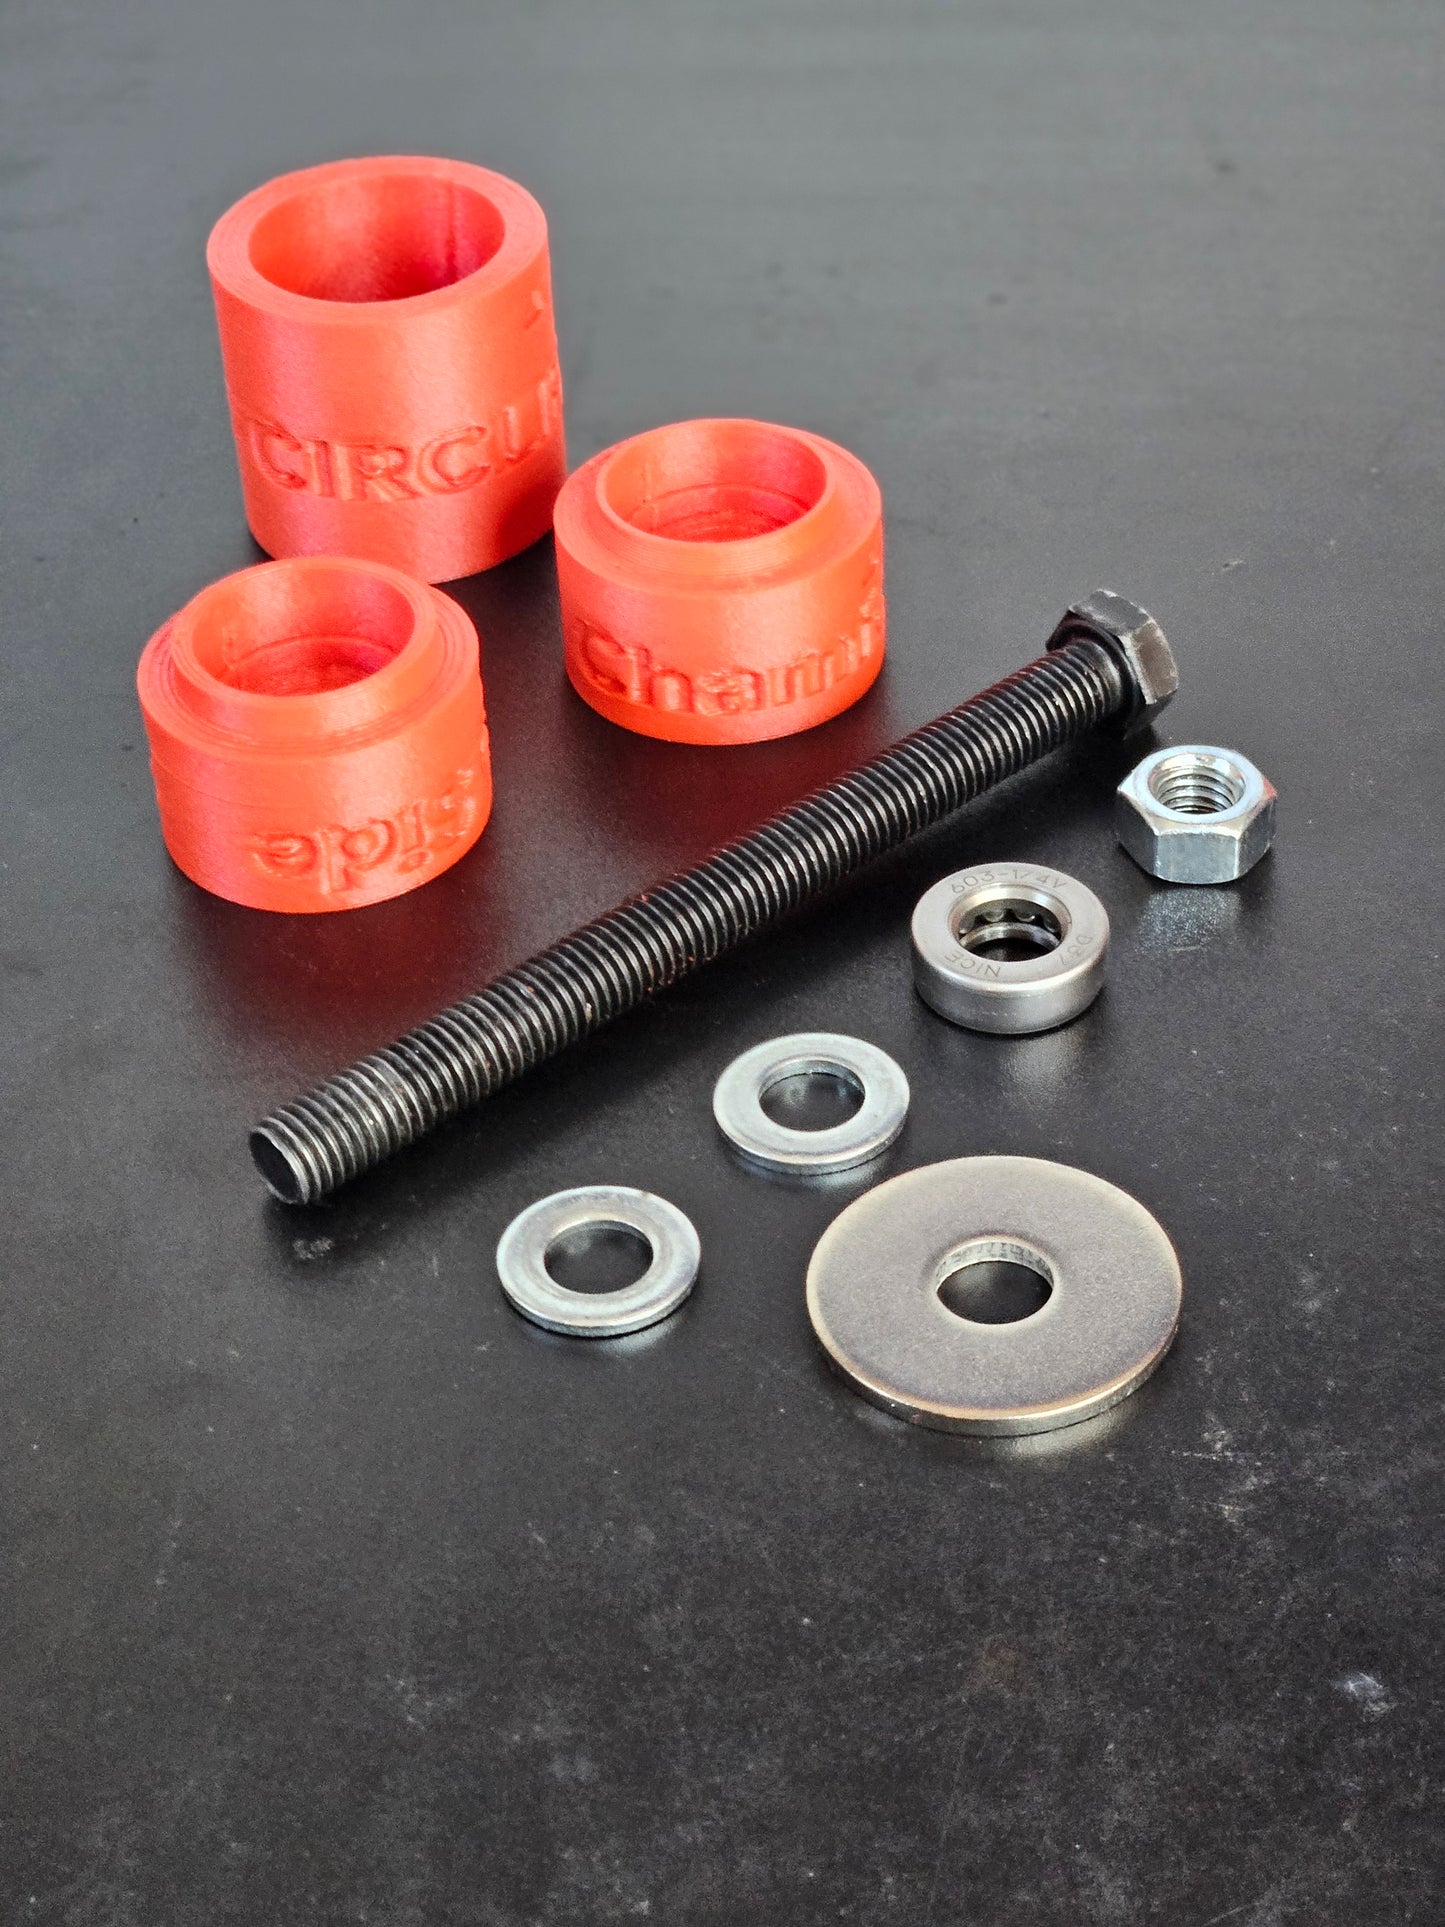
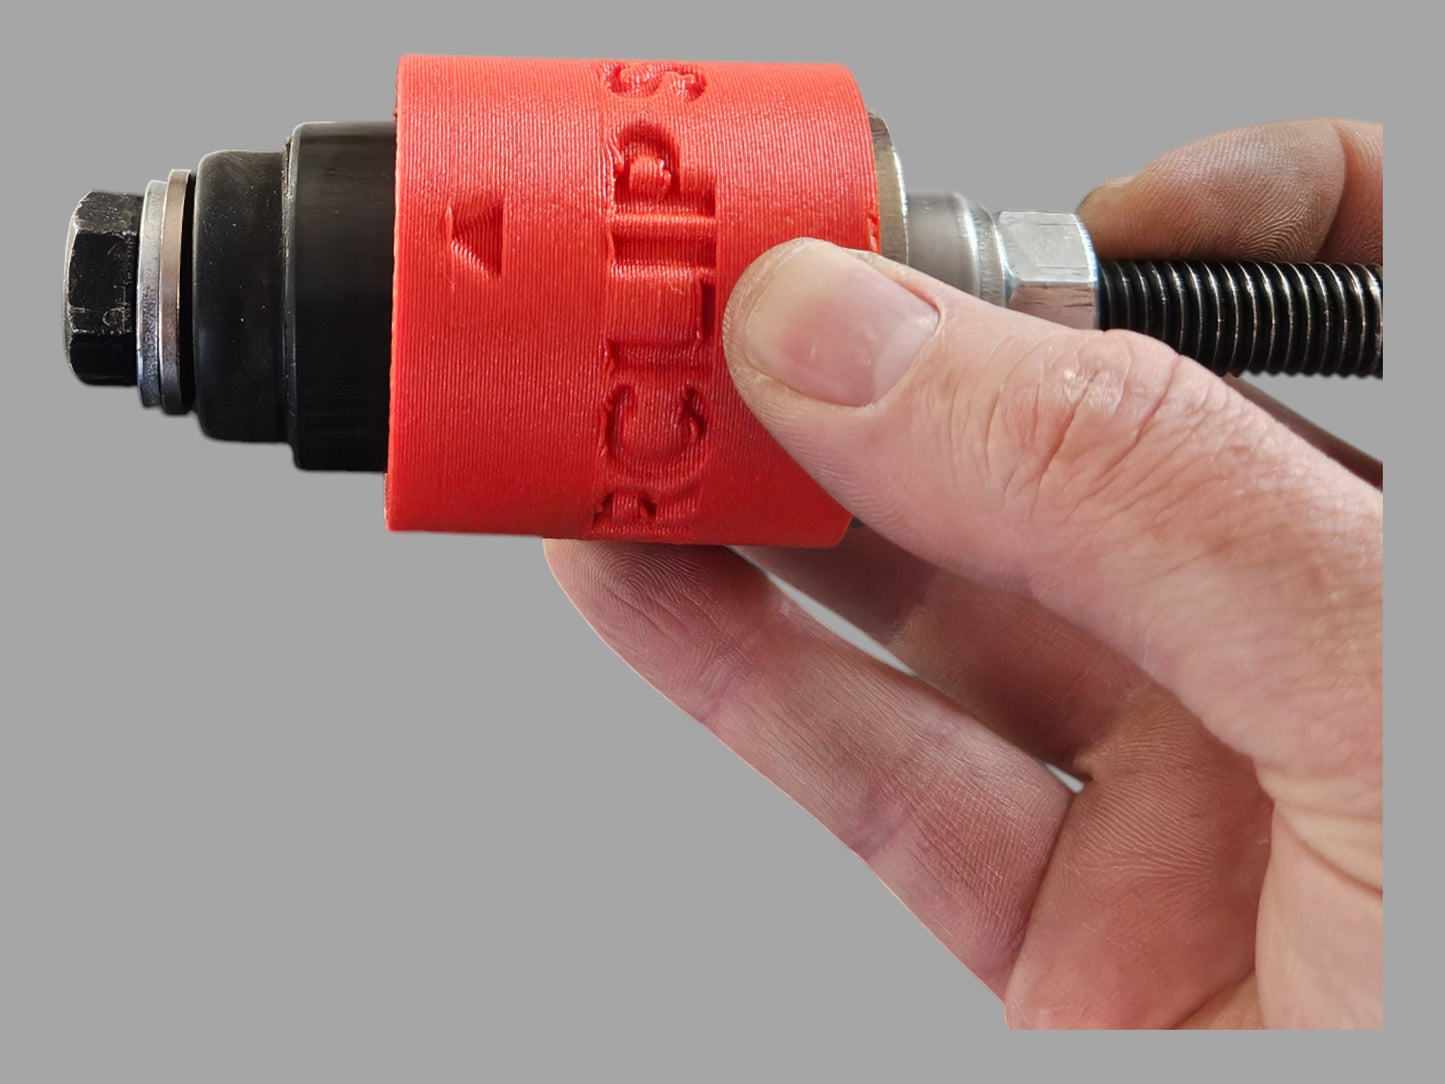
For these instructions the side of the trailing with the circlip/ retaining ring inside of the bushing bore will be referred to as the "Circlip Side". The opposite side of the trailing arm bushing bore is chamfered and will be referred to as the "Chamfer Side". The tooling is labeled appropriately. Do NOT use a drill or impact wrench.
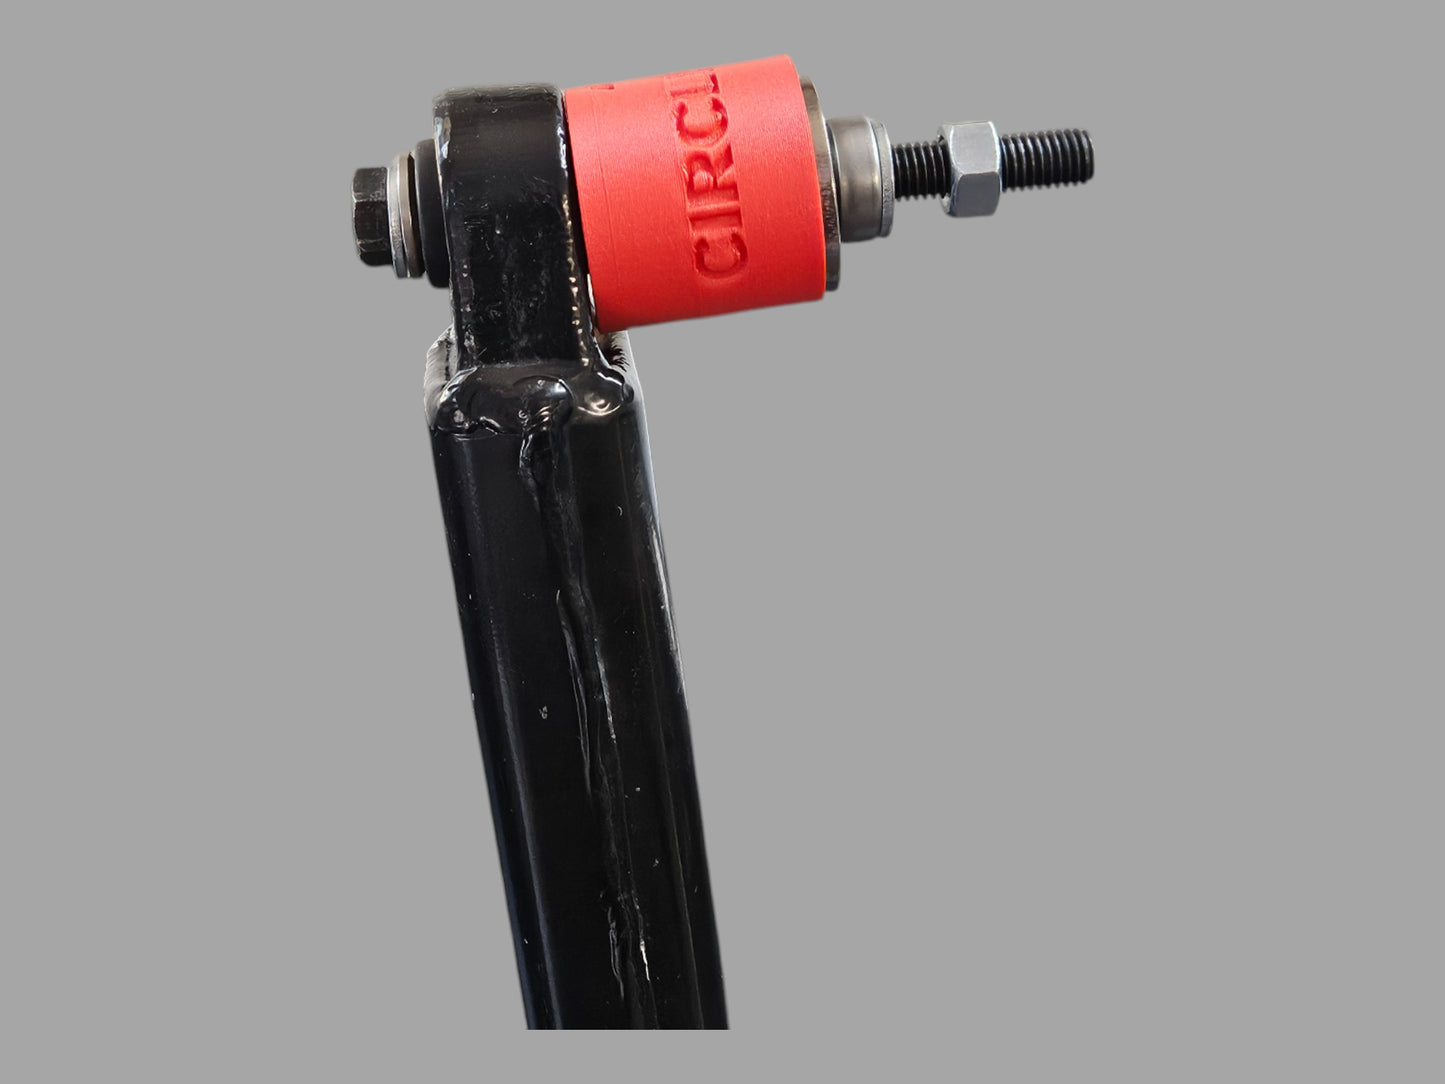
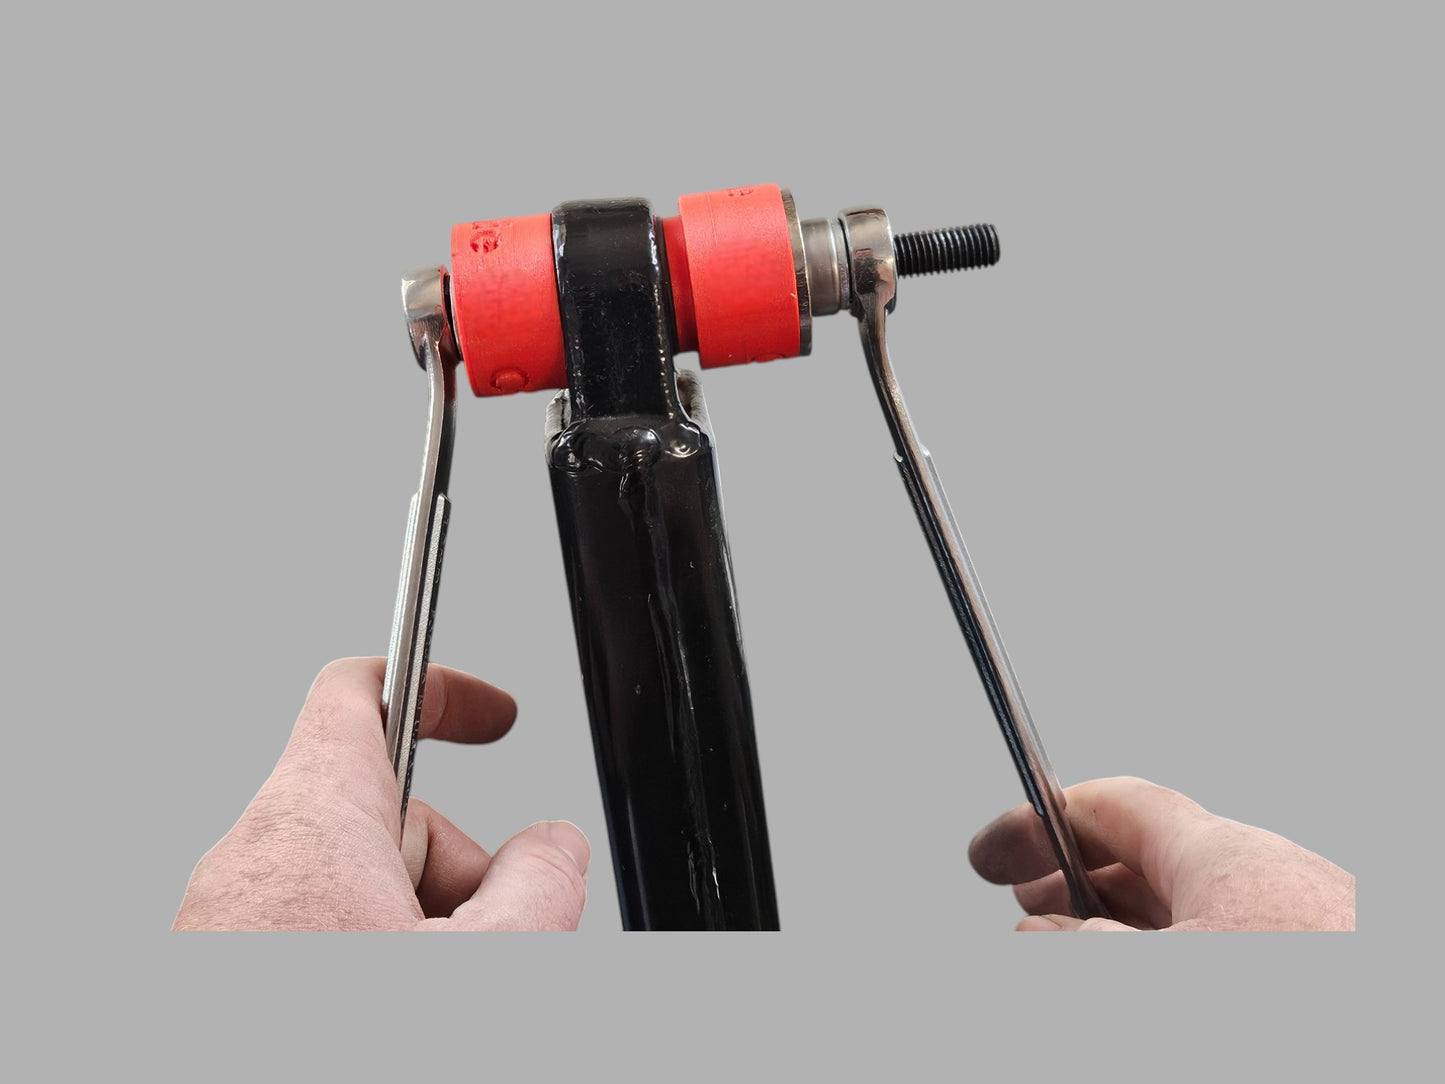
REMOVE THE CIRCLIP from the trailing arm. Place one of the small washers onto the M12 bolt. Slide the bolt with washer through the bushing from the chamfered side. Install the puller cup with the number "1" on the side onto the bolt from the circlip side with the arrow facing the circlip side of the trailing arm.
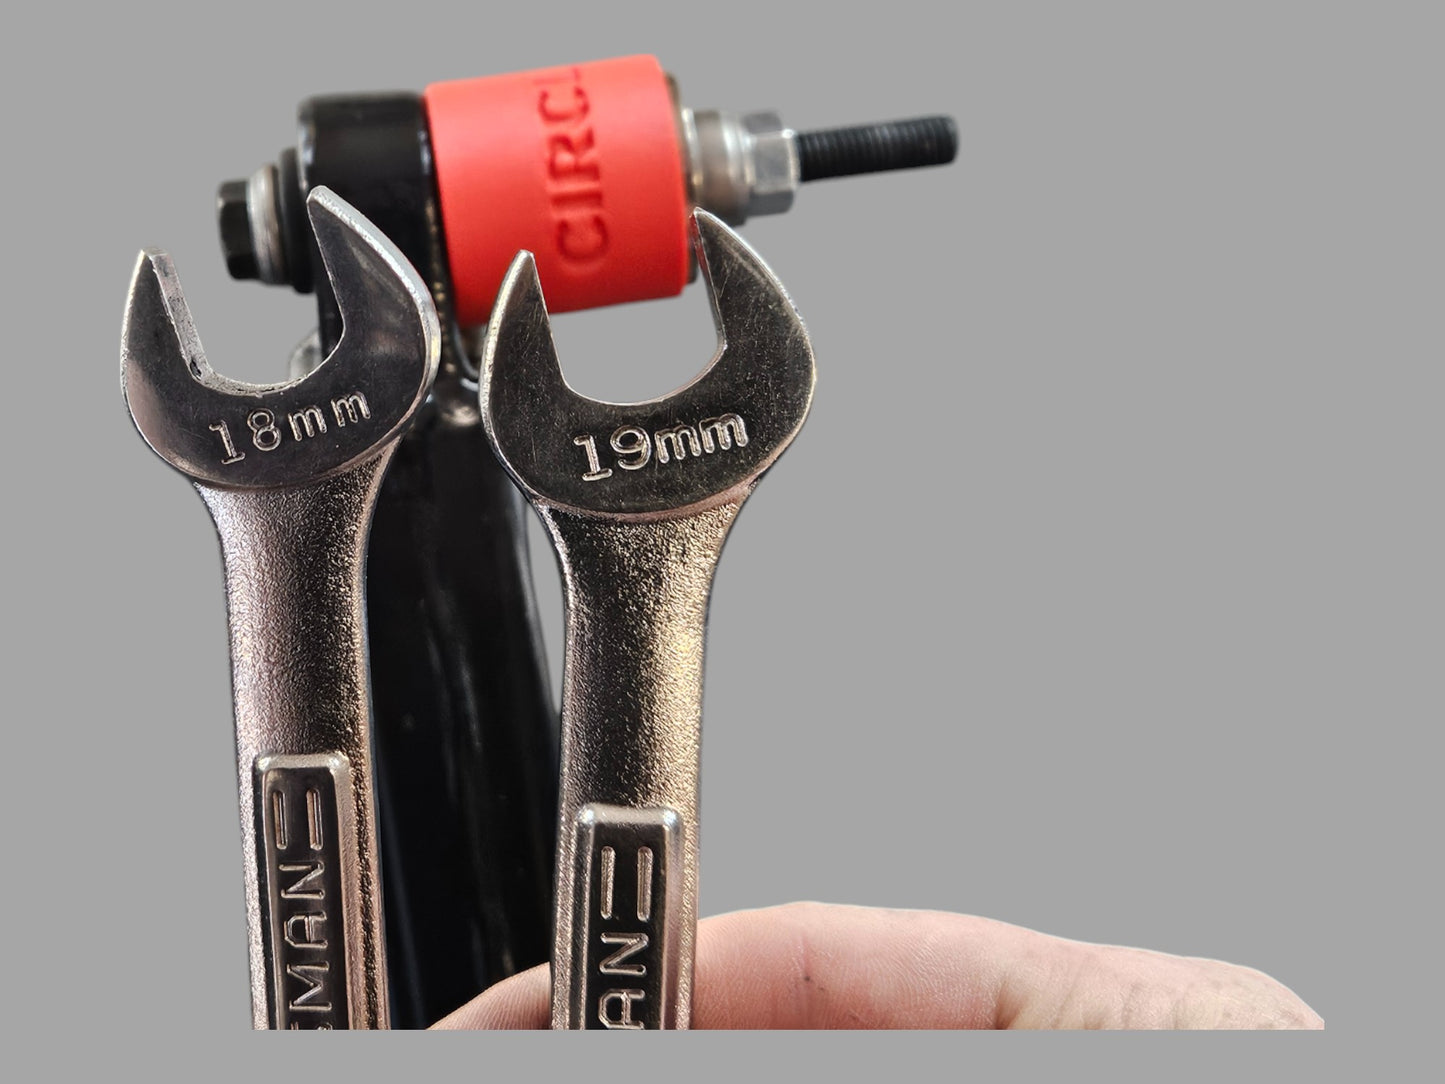
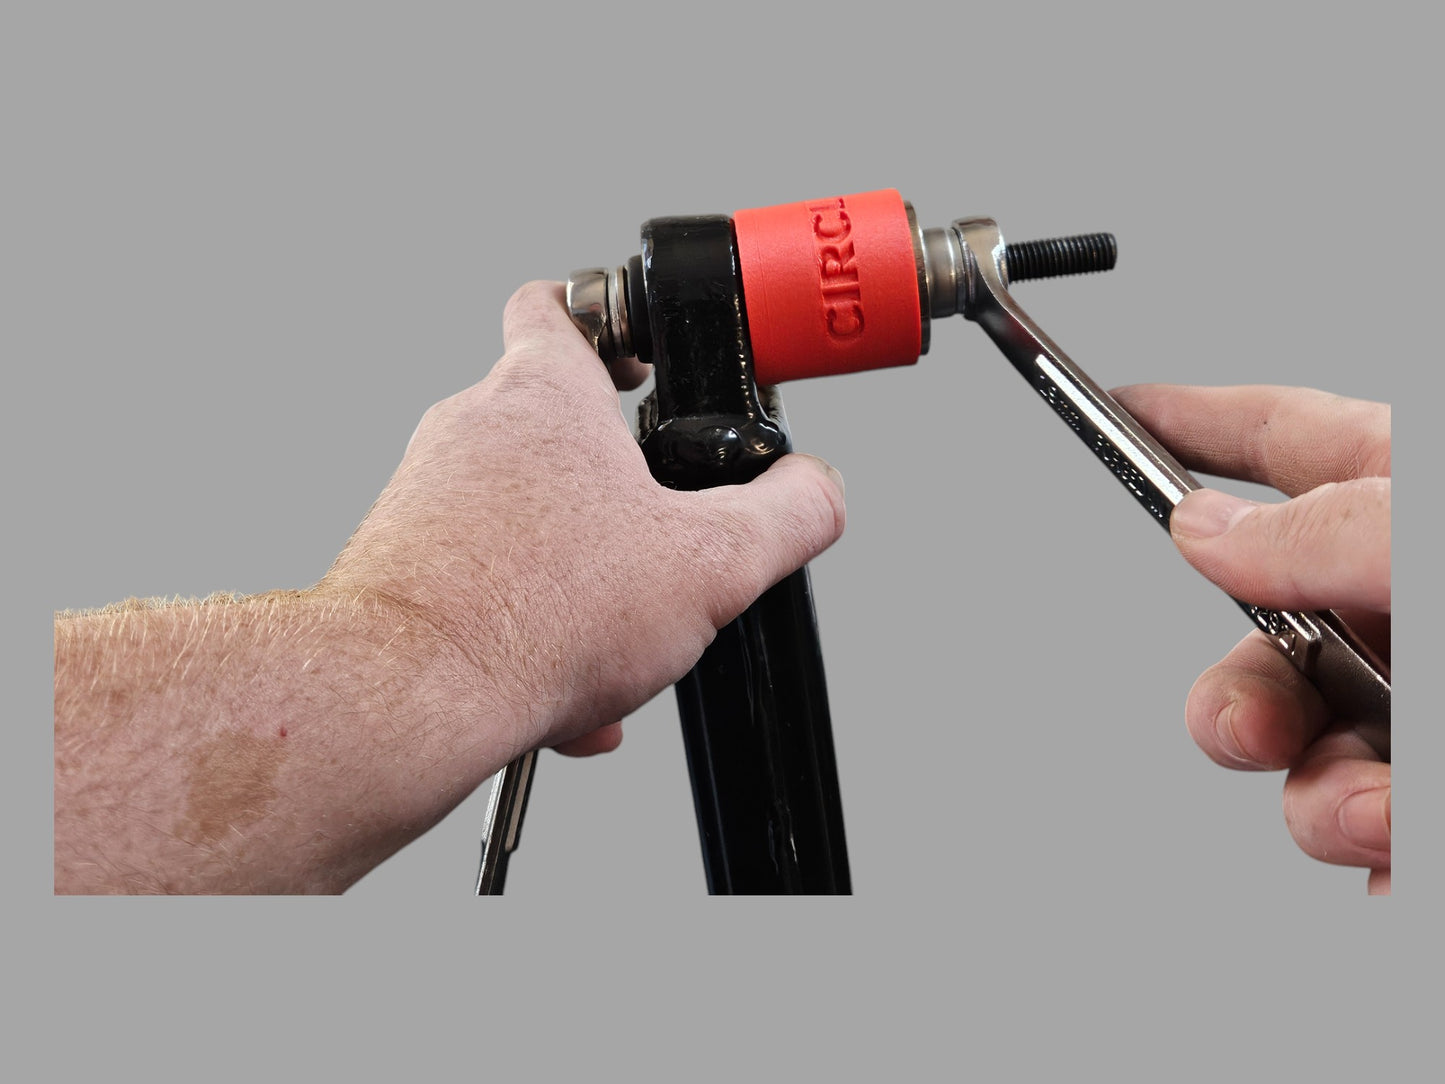
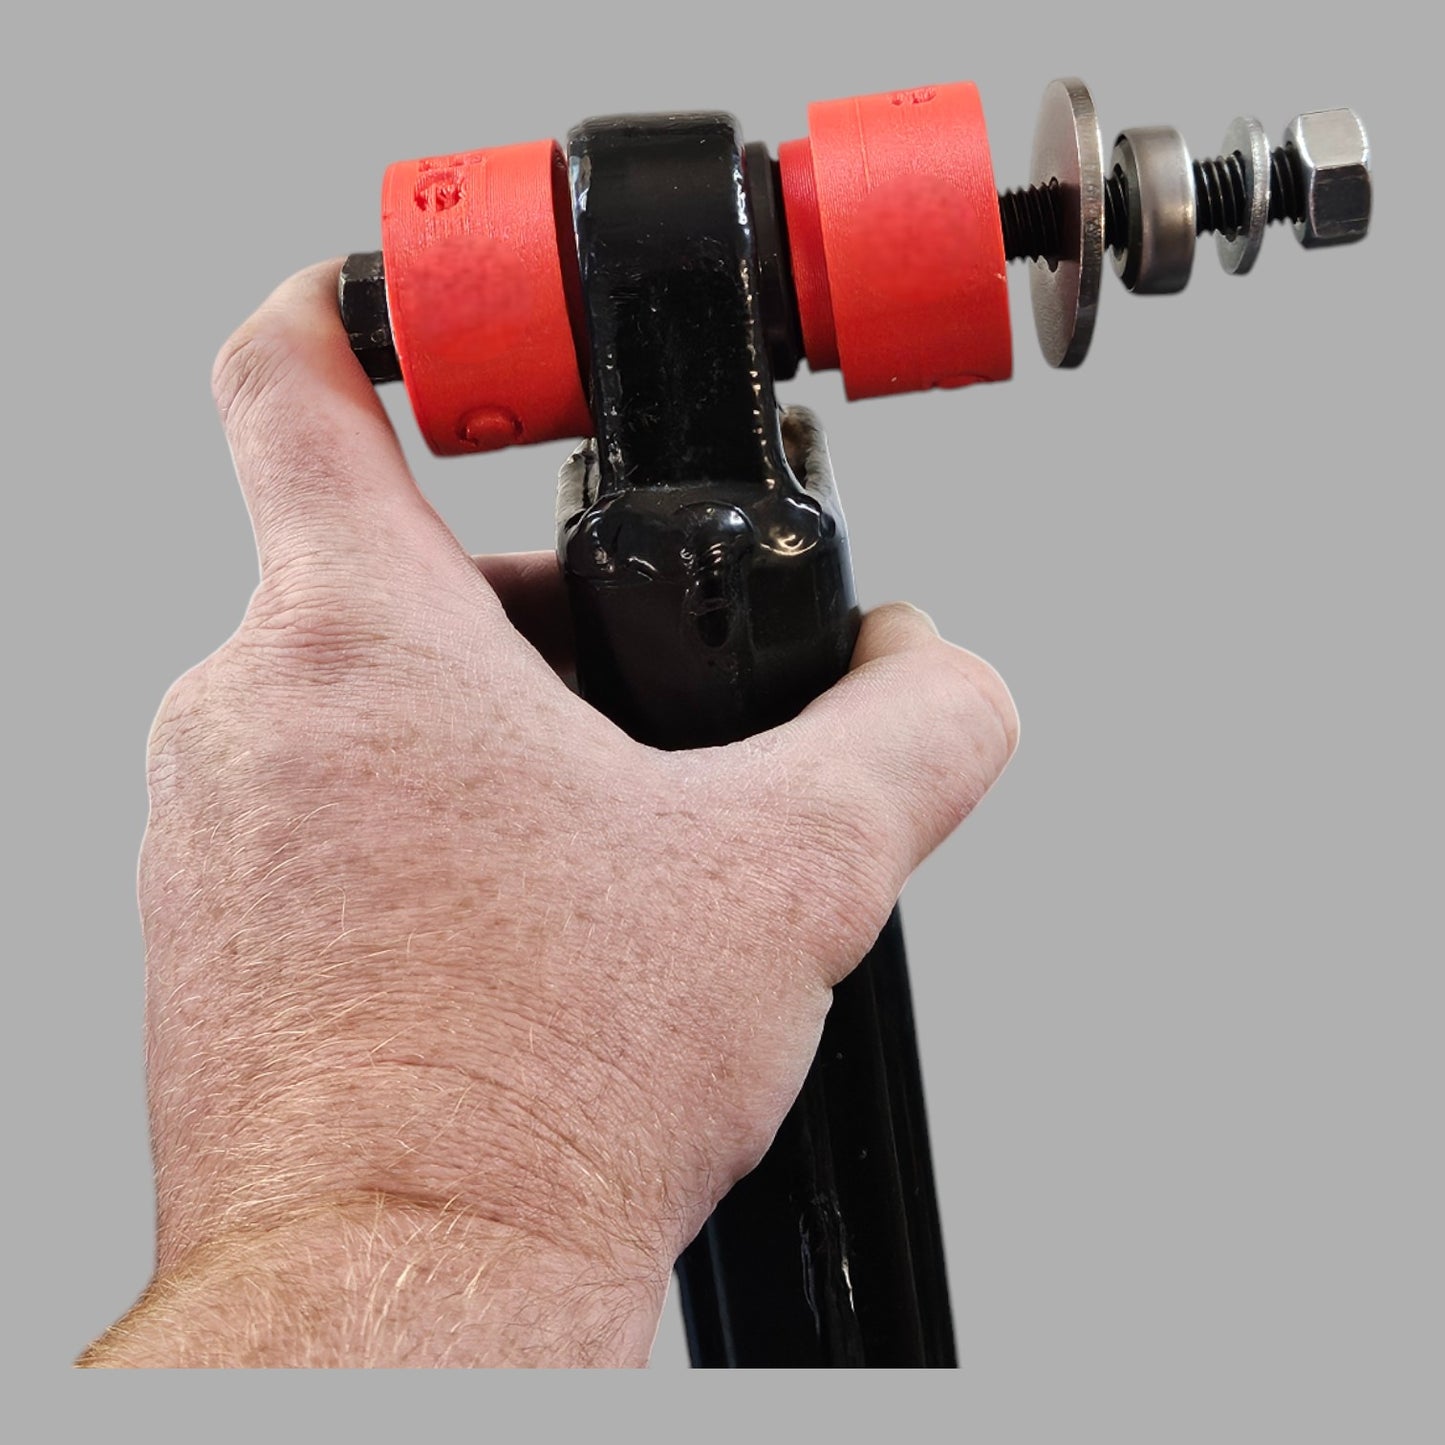
Next install the large fender washer, followed by the nice bearing, the second small washer and then the nut.MAKE SURE the cup is flush against the trailing arm and the bolt is concentric in the bore before you start to remove the bushing. The hole in the tool and the bolt should be aligned with the center of the bore in the trailing arm. Use one wrench to hold the chamfer side of the bolt still and use a second wrench to turn the nut on the circlip side until the bushing is free from the trailing arm.To install the bushing, Place one of the small washers onto the bolt. Slide the bolt through the installer cup with the number "2" on it. Put the bolt,and washer through the trailing arm from the chamfered side. The arrow on cup #2 should be facing the chamfered side of the trailing arm.You'll notice the installer cup #2 has a chamfered lip that needs to be flush against the chamfer on the trailing arm. Next, apply a small amount of lube on the mating surface and slide the bushing onto the bolt from the circlip side of the trailing arm. Seat the bushing square against the bore in the trailing arm by hand. Then install the plug with the number "3" onto the bolt with the arrow on the plug facing the bushing. Next install the large fender washer followed by the nice bearing and then the second small washer followed by the M12 nut.MAKE SURE the cup on the chamfer side is flush against the chamfer in the trailing arm. The bolt should also be aligned with the center of the bore in the trailing arm and cup #3 should be flush against the bushing. The bushing should be squared with the bore in the trailing arm. Once you have verified all four of those parameters, hold the bolt on the chamfer side with a wrench while using a second wrench to spin the nut on the circlip side. Cup #3 has a shoulder that should be flush against the trailing arm when the bushing is fully seated. Remove all tooling and REPLACE THE CIRCLIP/ RETAINING RING.
View full details